
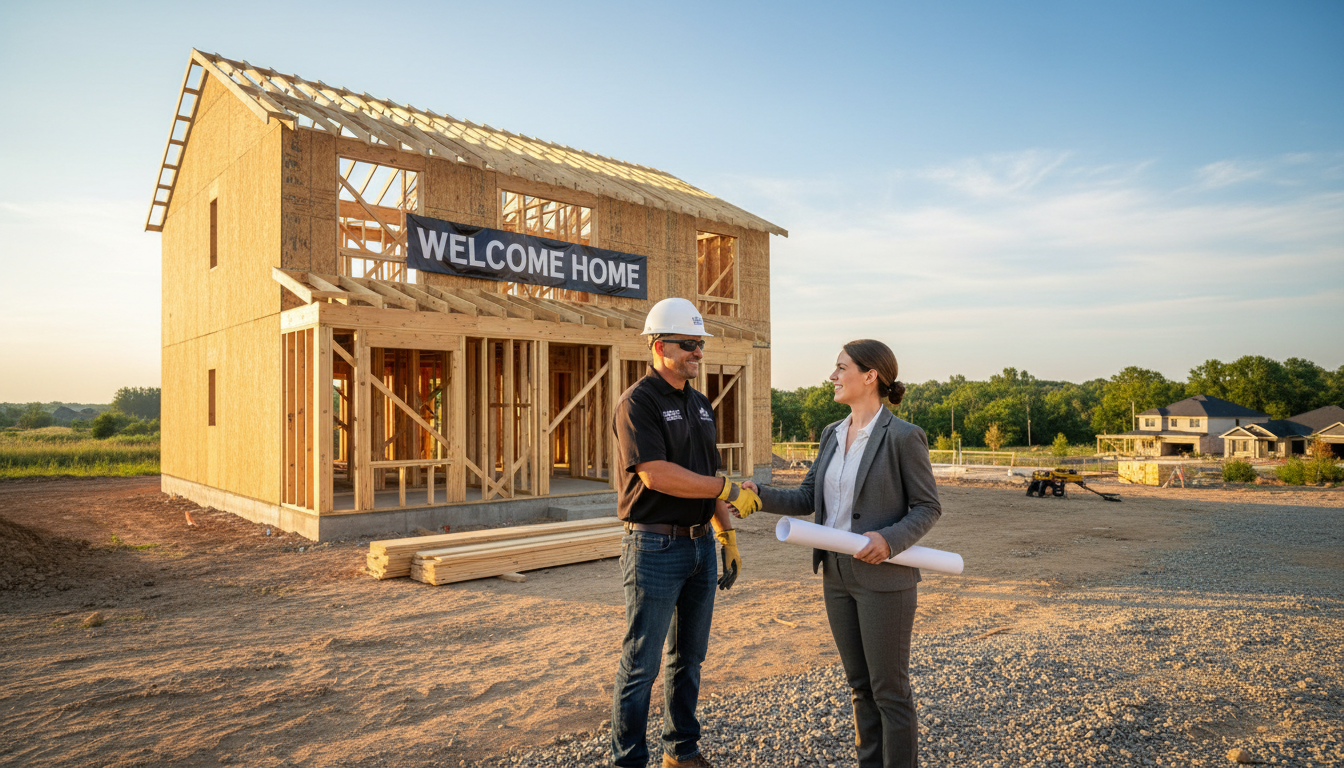
A new home final walkthrough checklist ensures all construction specifications are met and repairs are completed before the official closing. This essential document helps buyers verify that systems like HVAC and plumbing function correctly; it also provides a structured way to identify cosmetic issues using blue tape. Following this list protects your investment and confirms that your builder has addressed every safety hazard and contract detail prior to move-in.
Closing on a custom Missouri property is a milestone moment, yet the pressure to spot every potential defect during a single walkthrough often creates unnecessary stress for new homeowners. It is easy to become distracted by cosmetic finishes while overlooking critical infrastructure issues that could lead to costly repairs down the road. At Grindstone Utility Construction, we recognize that a home is only as resilient as the systems supporting it. A thorough final inspection is your definitive safeguard, ensuring that everything from site drainage to mechanical performance aligns with your expectations. This guide outlines a professional approach to your walkthrough, covering essential exterior considerations for our regional climate, interior functional checks, and the proper way to manage a punch list. By utilizing this expert checklist, you will transition into your new home with the absolute certainty that every detail has been verified.
The Purpose of a Final Walkthrough in Custom Construction
The final walkthrough serves as the penultimate step in your new single-family housing construction journey. This is a targeted site visit, usually conducted with your builder, to verify that every detail aligns with your expectations before the keys change hands. While a standard home inspection is a deep dive into technical codes and structural components, the walkthrough is your personal verification that the specific blueprints and finishes you selected were executed correctly.
For a Grindstone Utility Construction project, this phase ensures that the home functions as a cohesive unit. You are not just looking at paint; you are verifying that the Mastering Your Custom Home Building Process Timeline has culminated in a structure that meets your agreed-upon specifications. Many buyers ask: what is the biggest red flag in a home inspection? In the context of a custom build walkthrough, the biggest red flag is evidence of systemic workmanship failure, such as significant moisture intrusion in the basement or foundation issues that suggest improper site grading. Identifying these major issues now is critical. By using a comprehensive new home final walkthrough checklist, you ensure that functional defects are addressed before you sign the final paperwork, protecting your investment in the Jamesport region.
Blue Tape vs. Final Walkthrough: Knowing the Difference
To keep your project on schedule, it is vital to distinguish between the two distinct site visits that occur near the end of construction. The first is the blue tape walkthrough, typically scheduled 7 to 14 days before your closing date. During this session, you focus on cosmetic details and minor workmanship issues. You will literally use blue painter’s tape to mark paint scuffs, drywall nicks, or small gaps in the millwork. This allows our team at Grindstone Utility Construction enough time to address the punch list before the final move-in date.
The actual final walkthrough occurs much later, usually 24 to 48 hours before you sign the closing papers. This is not the time to find new scuffs; instead, it is a verification step to ensure all previously identified repairs are completed and that all major mechanical systems are operational. Understanding this timeline helps manage expectations, ensuring your new home final walkthrough checklist serves as a tool for verification rather than a starting point for new cosmetic requests. This structured approach is essential for new single-family housing construction to ensure a seamless transition of ownership in the Jamesport area.
What to Bring to Your New Home Walkthrough
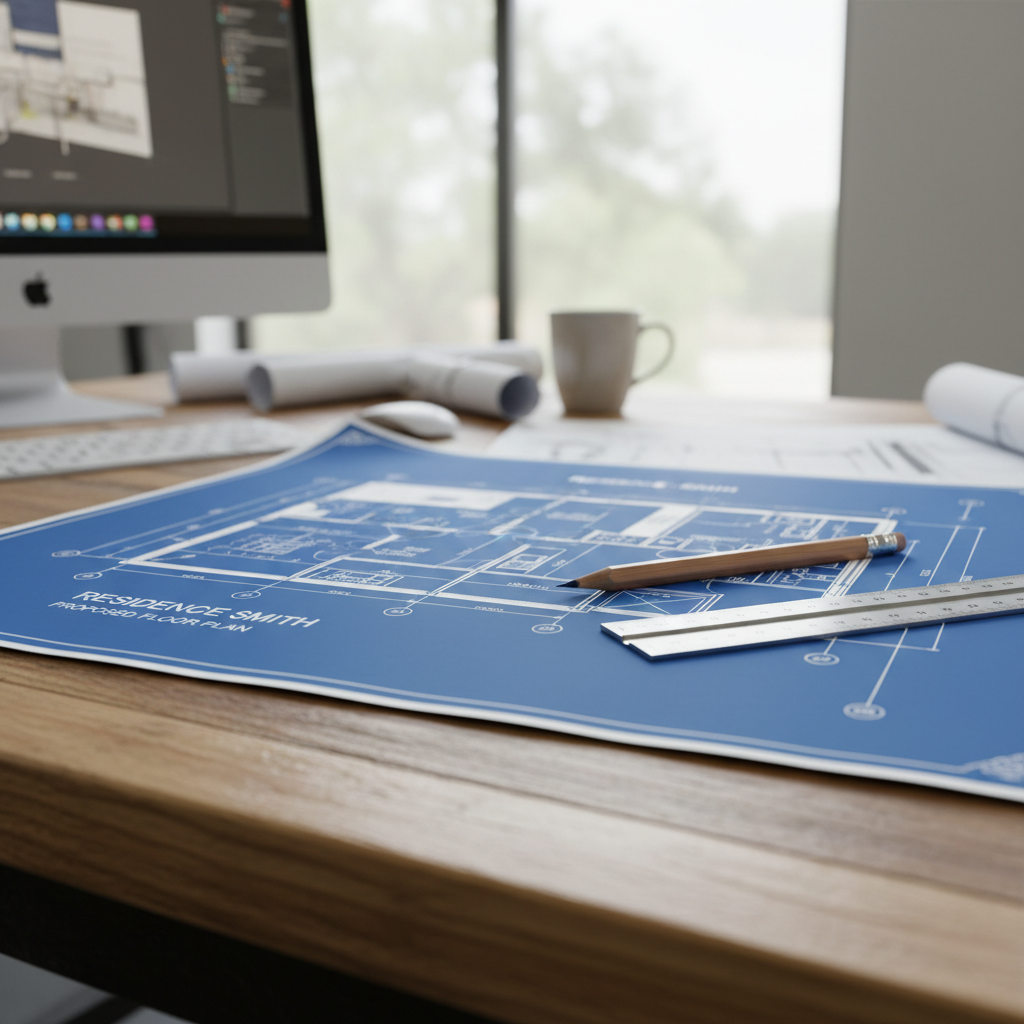
Coming prepared ensures you can systematically complete your new home final walkthrough checklist without missing critical details. Our team at Grindstone Utility Construction recommends arriving with a dedicated kit of tools to verify the functionality and accuracy of your new single-family housing construction project.
Items to bring include: - The original construction contract and specifications to verify that all upgraded finishes and specific materials were installed as agreed. - A high-powered flashlight for inspecting dark corners in the attic or the far reaches of the basement. - A small plug-in device, such as a nightlight or a dedicated outlet tester, to verify that every electrical socket is live and wired correctly. - A smartphone for taking detailed photos of any areas requiring attention. - A notepad for documenting specific observations for the final punch list.
If you utilized a Mastering Home Layout Planning document during the design phase, bring a copy to verify room dimensions and ensure door swings match the intended flow of the home. Having these documents on hand prevents disputes and ensures your custom vision was accurately translated into the finished structure.
Exterior Checklist: Regional Considerations for Missouri Homes
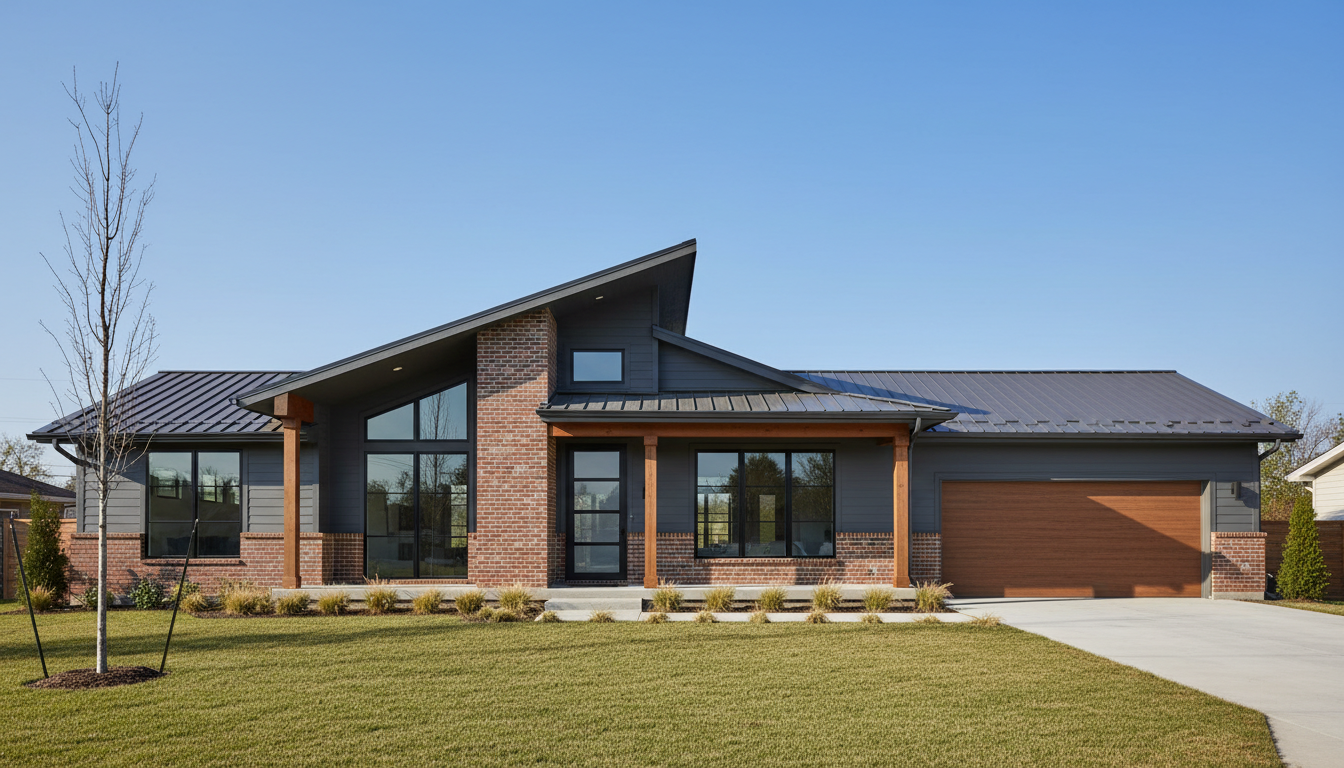
Having your tools ready allows you to begin the inspection outside, where the Missouri climate poses the greatest challenge to a structure. In Jamesport, significant freeze-thaw cycles make foundation integrity and water management the highest priority on your new home final walkthrough checklist. The goal is to ensure the building envelope is ready for our regional extremes, from humid summers to sub-zero winter nights.
Begin by walking the perimeter to verify that the final grade slopes away from the foundation. You should see a visible drop in elevation over the first ten feet of soil. Look for standing water or soft spots that indicate poor compaction, as these issues can lead to foundation settling or basement seepage during the spring thaw.
Most new single-family housing construction in our region utilizes a combination of brick and high-quality siding for long-term durability. Inspect these materials closely:
Brick and Siding: Check mortar joints for consistency and ensure siding is properly fastened, allowing for necessary thermal expansion.
Paint and Trim: Look for uniform coverage on trim boards, particularly at the joints and corners where moisture is most likely to penetrate.
Gutters: Verify that gutters are securely fastened and downspouts are directed toward splash blocks or underground drainage tiles to move water away from the site.
Exterior Spigots: Turn every faucet on to verify pressure, then off to ensure there are no drips. A leaking spigot in Missouri can lead to ice damming or burst pipes when temperatures drop.
Finally, check the sealant around windows and door frames. A tight seal here is critical for maintaining energy efficiency and preventing moisture intrusion during heavy Midwestern thunderstorms.
Interior Checklist: Functional and Cosmetic Details
Once you transition from the exterior inspection into the interior of your new single-family housing construction project, the focus shifts from structural protection to the refinement of finish work. This stage of the new home final walkthrough checklist requires a keen eye for how the materials have settled since the initial installation.
### Wall and Paint Finish Examine the drywall surfaces by looking across the walls rather than directly at them; this helps reveal imperfections in the finish. Look specifically for nail pops, which appear as small, circular protrusions where a fastener has slightly shifted as the framing lumber acclimates to the indoor climate. Check the corners and ceiling joints for uneven drywall tape or visible seams, which can sometimes appear if the joint compound was not sanded sufficiently. Ensure the paint coverage is uniform, especially behind radiators or inside closets, where thin spots are most common.
### Flooring and Transitions Inspect all hardwood surfaces for deep scratches or gouges that may have occurred during the final stages of the build. In tiled areas, pay close attention to the grout lines. Look for gaps or pinholes in the grout, as these can harbor moisture and lead to premature wear. Verify that all transition strips between different flooring materials, such as where carpet meets tile, are flush and securely fastened to prevent trip hazards.
### Windows and Doors Functional testing is critical for every portal in the home. Open and close every window to ensure the sashes move freely and the locks engage securely. Check that all insect screens are present and tensioned correctly. For interior doors, perform a level check by opening the door halfway. If the door swings shut or opens further on its own, it is not perfectly plumb. Additionally, verify that cabinet hardware is installed at the correct height and that all handles are level and consistent with your original design specifications.
### Lighting and Fixtures Confirm that the placement of recessed lighting and decorative fixtures aligns with the electrical plan. In custom builds, homeowners often specify exact centered locations for dining pendants or vanity lights; now is the time to verify those measurements. Test every light switch to ensure they control the intended fixtures or outlets without flickering.
Testing Home Systems and Appliances
Validating the placement of fixtures is the first step, but confirming their performance is the priority for the functional phase of your new home final walkthrough checklist. Start in the kitchen by running the dishwasher through a short cycle to verify there are no leaks at the supply line or drain. Ignite every stove burner and preheat the oven to confirm the gas or electric connections are stable. In the bathrooms, flush every toilet to check for proper drainage and ensure the fill valves shut off promptly. Run all faucets to verify that hot and cold lines are not reversed and that the aerators are clear of construction debris.
Testing the HVAC system is non-negotiable. Missouri's variable climate demands a resilient system, so switch the thermostat to cooling to feel for cold air, then cycle to heating to ensure the furnace fires correctly. While some buyers follow the 3-3-3 rule for buying a house, which suggests three days to see, three weeks to decide, and three months to adjust, a new single-family housing construction project requires more immediate scrutiny. This walkthrough is your definitive opportunity to catch functional defects before the official warranty period begins. Identifying a faulty blower motor or a minor plumbing leak now prevents the logistical headache of scheduling repairs once you have already moved into your Jamesport home.
Missouri Specific Mechanical Checks: Basements and Attics
The final stage of your new home final walkthrough checklist involves inspecting the areas most affected by Missouri’s variable weather, specifically the attic and the basement. In the attic, verify that the blown-in or batt insulation is distributed evenly and meets the R-value depths specified in your contract. Ensure that baffles are not obstructed, as clear airflow from the soffits is necessary to prevent ice dams during Jamesport winters.
In the basement, look for any evidence of moisture intrusion, particularly if the region has experienced recent heavy rain. Check for dampness along the floor to wall joints and inspect the sump pump by manually lifting the float to trigger a cycle. It is also critical to locate the main water shut-off valve and verify it is easily accessible for emergency use. Finally, check the HVAC unit to ensure a clean filter is installed. Construction dust can quickly clog a new system, so starting with a fresh filter protects your equipment. These mechanical checks provide peace of mind that your new single-family housing construction is fully prepared for the local climate.
How to Handle the Punch List and Next Steps

Once you have completed your new home final walkthrough checklist, any remaining discrepancies are compiled into a formal punch list. Finding minor cosmetic flaws, such as a paint scuff or a slightly misaligned cabinet pull, should not cause alarm. These issues rarely warrant delaying your closing. Instead, Grindstone Utility Construction utilizes a signed punch list agreement that guarantees these specific items will be addressed, typically within 30 days of your move-in date.
Documentation is your best protection during this transition. Use your smartphone to take clear, high-resolution photos of every area marked with blue tape. This creates a digital record that eliminates ambiguity regarding the location or nature of the repair when our crews return to the site. If you discover major functional defects, such as a failed HVAC component or significant moisture intrusion, a conversation regarding a closing delay or an escrow holdback may be necessary to protect your investment.
Our commitment to quality in new single-family housing construction means we aim to have all major systems fully vetted and operational long before your final tour. In the Jamesport region, we prioritize a transparent handover process. We review the final list together to ensure you are comfortable with the resolution plan. We do not consider the project complete until these final details meet our professional standards and your personal expectations.