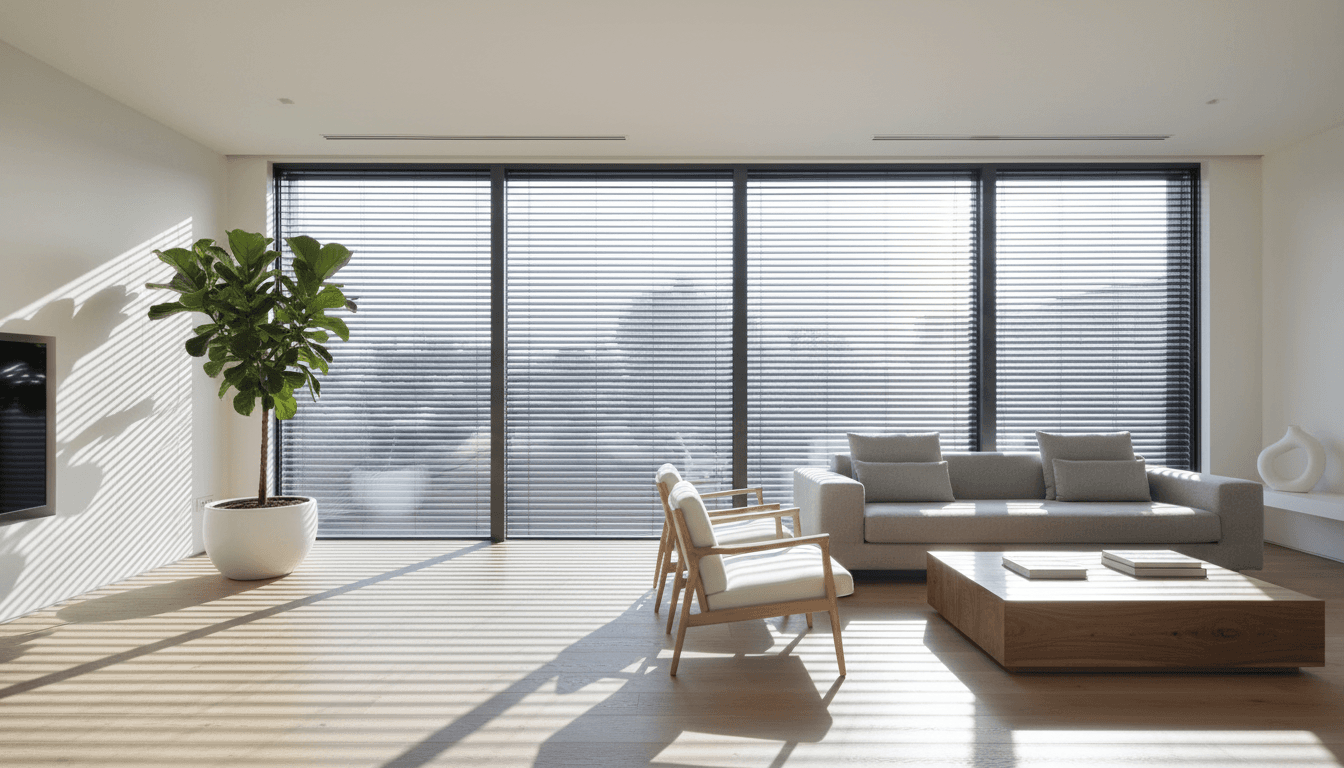
The interior finishing stage custom home building involves installing visible design elements such as cabinetry, flooring, countertops, and detailed trim carpentry to transform a framed structure into a finished residence. This phase also includes interior painting and the installation of doors and fixtures; it serves as the final step before homeowners conduct their final walk-through and move-in.
For many homeowners, the transition from structural framing to interior finishing feels like entering a labyrinth of high stakes decisions and logistical hurdles. While the heavy lifting of foundation and utility work is behind you, the finishing stage is where precision matters most for the long term integrity of your investment. Mismanaged sequencing during this phase can lead to costly rework, delayed move in dates, and compromised aesthetics. This guide provides a professional roadmap through the complexities of the interior build out. You will learn the critical order of operations from trim carpentry to mechanical trim outs. We will also address the logistical debate regarding flooring and cabinetry installations. By understanding these final milestones, you can ensure your custom home meets the high standards of durability and craftsmanship that a project of this scale requires.
Understanding the Interior Finishing Stage of Custom Home Building
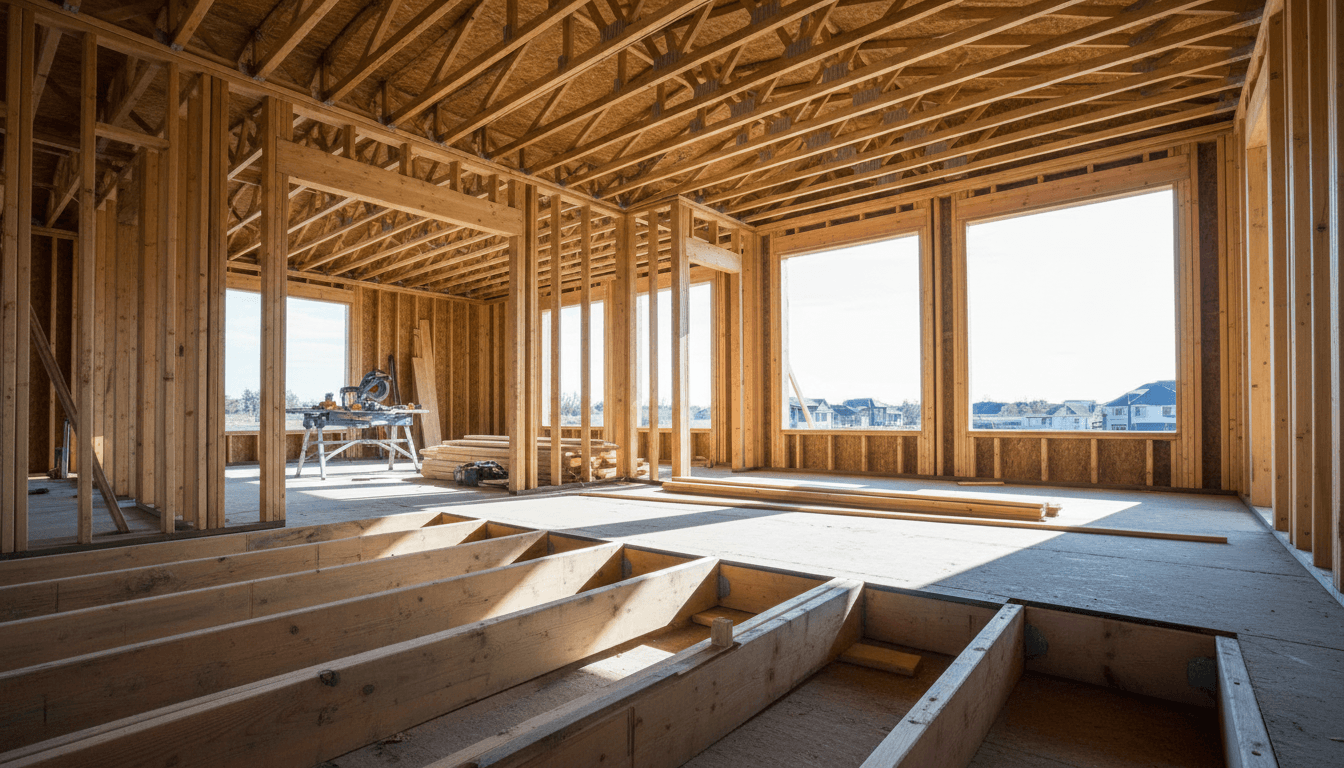
The interior finishing stage custom home building phase is the transformative period where a construction project truly becomes a residence. It marks the shift from a skeleton structure of studs and pipes to a livable environment. This phase officially commences once the mechanical rough-in stage, including all plumbing, electrical, and HVAC systems, and the insulation have passed their respective municipal inspections.
For many Missouri homeowners, this is the most rewarding part of providing professional residential building services. It is the point where the personal design choices made months earlier, such as cabinetry profiles, trim styles, and paint colors, finally materialize on-site. Instead of looking through wall studs, you begin to see the defined boundaries and aesthetic character of your kitchen, bedrooms, and living spaces.
While timelines vary based on the scale of the project, homeowners should typically expect this stage to last between 6 and 10 weeks. The exact duration depends heavily on the complexity of custom details, such as intricate crown molding or specialized tile patterns. Precision during these weeks is vital because these surfaces are the visible elements you will interact with every day once the home is complete.
What Happens After Drywall: The Sequencing of Interior Finishes
Once the gypsum panels are fastened to the studs, the home enters a meticulous cycle of taping, mudding, and sanding. This process bridges the gaps between boards to create a single, monolithic surface. We apply joint compound in multiple thin layers, allowing each to dry completely before the next application. In the Jamesport area, managing drying time is a critical technical requirement. During humid Missouri summers, we often utilize dehumidifiers to pull moisture from the air, while winter builds require consistent interior heating to maintain a stable environment. Rushing this process leads to trapped moisture, which eventually manifests as hairline cracks or nail pops once the home settles.
Homeowners should understand the distinction between finish levels during the interior finishing stage custom home building process. A Level 4 finish is the industry standard for most residential projects, involving multiple coats of compound and sanding to a smooth surface suitable for flat, matte, or eggshell paints. For walls that will feature high gloss paint or receive significant natural light from large windows, we recommend a Level 5 finish. This premium option involves an additional thin skim coat over the entire wall surface to eliminate any texture differences between the paper and the joint compound, providing the highest degree of smoothness.
The final step in this sequence is priming. A high quality primer seals the porous drywall and mud, ensuring the finish paint adheres evenly and looks consistent across the entire wall. This provides the stable foundation necessary before the crew moves into the trim and finish carpentry phase.
Interior Trim and Finish Carpentry: Setting the Style
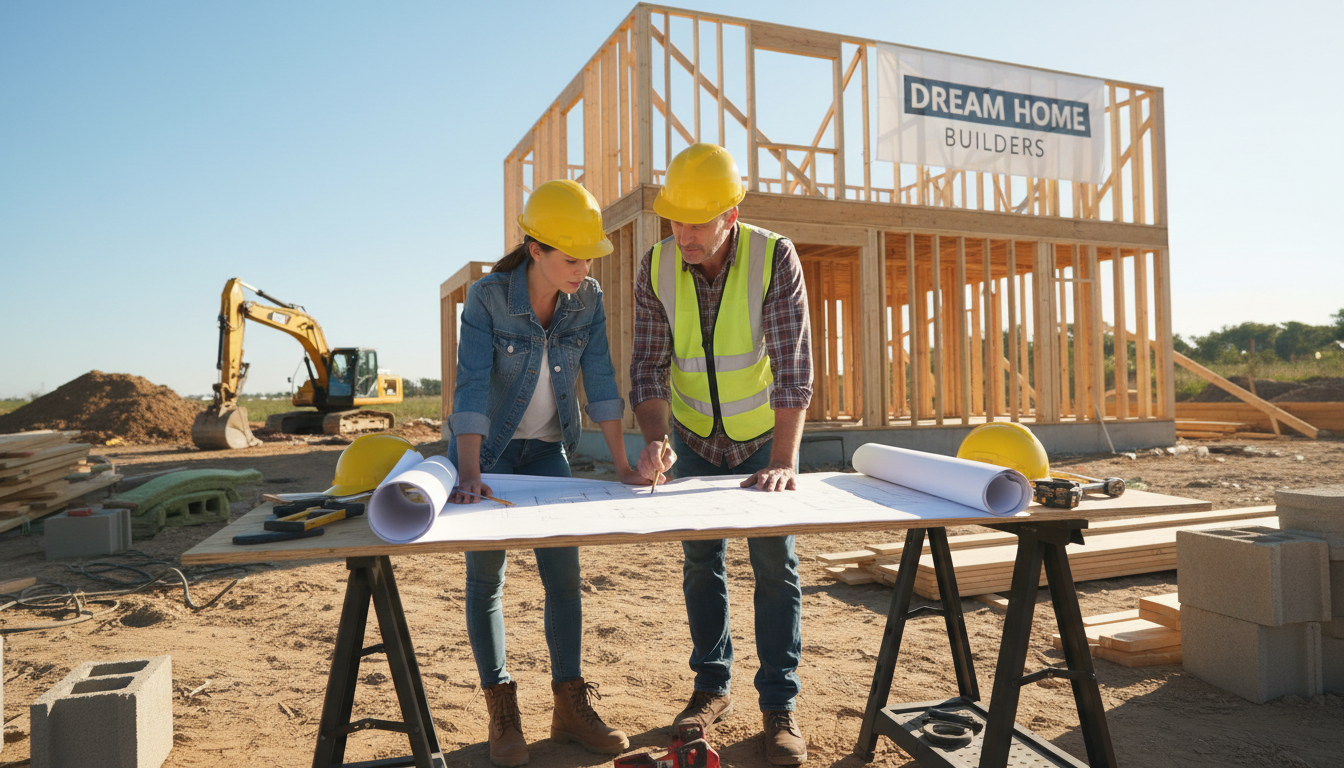
Once the walls are primed and the dust from sanding has been cleared, we begin the trim out phase. This is the period during the interior finishing stage custom home building process where the architectural identity of the home is solidified. Our carpentry crews install the interior doors, baseboards, window casings, and any decorative crown molding or wainscoting. These elements provide the visual framework for every room. In a Jamesport residence leaning toward a traditional aesthetic, we might use built up moldings with intricate profiles. For a modern farmhouse look, we often utilize simple, flat stock trim with clean, square edges.
A critical, yet often overlooked, step in this phase is wood acclimation. Before a single nail is driven, we deliver the trim materials to the job site and let them sit inside the house for 48 to 72 hours. Because wood is a natural, porous material, it expands and contracts based on the environment. This waiting period allows the wood to reach an equilibrium with the home's specific humidity and temperature levels. If we were to install the trim immediately after it left a cold warehouse or a humid delivery truck, the boards would likely shrink or swell once the HVAC system stabilized the interior air. This leads to unsightly gaps at mitered corners or cracked caulk lines. By respecting this acclimation window, we ensure that the tight joints and crisp lines of our professional residential building services remain intact for years to come.
The Great Debate: Should Cabinets or Flooring Be Installed First?
As we progress through the interior finishing stage custom home building process, a common question arises regarding the sequence of cabinetry and flooring. In most of our projects, we prioritize installing cabinets first. This sequence protects your investment; by setting the cabinetry before the final floor is laid, we eliminate the risk of heavy boxes or tools scratching a finished surface. Furthermore, installing flooring up to the cabinet kicks allows for easier future renovations. If you decide to update your kitchen layout in a decade, you will not be forced to replace the entire floor just because the cabinets were pinned beneath it.
However, the material choice dictates the rule. For traditional nail down hardwood, we often install the wood first to ensure a seamless finish and a level base for the cabinets. Conversely, floating floors, such as Luxury Vinyl Plank (LVP), must always be installed after cabinets. Because these floors expand and contract with Missouri’s temperature shifts, pinning them under heavy cabinetry would cause the boards to buckle.
Approach | Pros | Cons |
|---|---|---|
Cabinets First | Prevents floor damage; easier floor replacement; better for floating floors. | Requires precise flooring cuts; cabinet height must account for floor thickness. |
Flooring First | Provides a perfectly level surface; no need for quarter-round trim; faster flooring install. | High risk of scratches or dents; harder to replace flooring later; unsuitable for floating floors. |
Providing professional residential building services involves weighing these technical trade-offs to ensure the longevity of your home's interior finishes.
Mechanical Trim Out: Turning on the Power and Water
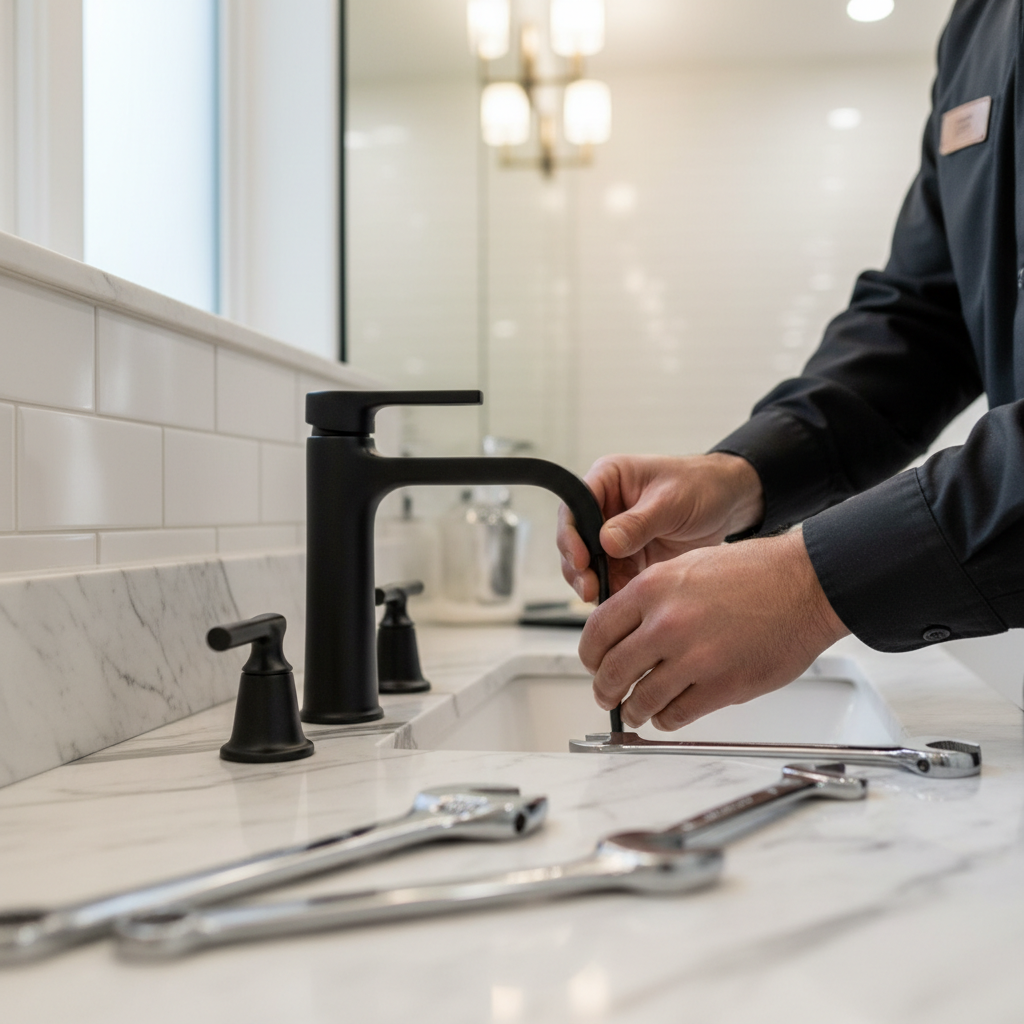
Following the installation of cabinetry, the home enters the mechanical trim phase. While the mechanical rough-in stage focused on the concealed infrastructure, such as wiring and drain lines buried behind the walls, the trim phase is about functionality and aesthetics. During this part of the interior finishing stage custom home building process, we transition from a construction site to a functional living space. This is the moment when the home finally gains light and running water.
Electricians install the switch plates, outlets, and decorative light fixtures that define your rooms. Plumbers set the faucets, shower heads, and toilets, while HVAC technicians install the vent registers and the thermostat. Precision is paramount here because the surfaces are finished. Moving a light fixture even two inches to the left after the drywall is painted requires patching, sanding, and repainting.
We advise homeowners to perform a final walkthrough to verify every fixture location before the sub-contractors arrive for this pass. Checking that a vanity light is perfectly centered over the sink or that a pendant hangs at the correct height over a kitchen island prevents costly change orders. These professional residential building services ensure that the sophisticated systems installed earlier are now accessible and prepared for the new home final walkthrough.
Flooring and Countertops: The Final Major Installations
With the mechanical trim nearly complete, the interior finishing stage custom home building process moves into the installation of permanent hard surfaces. We begin with tile work in moisture prone areas such as bathrooms and laundry rooms, where precision in thin-set application and grout lines is essential. For the main living areas, we transition to hardwood or Luxury Vinyl Plank (LVP). If your design calls for site finished hardwood, this is the point where the sanding and staining occur, requiring the house to be cordoned off to prevent dust contamination.
Simultaneously, the countertop process reaches its critical phase. Once the base cabinets are securely anchored, stone fabricators arrive to perform a digital or physical template. This step is vital because it accounts for any slight variations in wall plumbness. After the slabs are cut and polished off site, the installation of granite or quartz provides the visual weight that defines a custom kitchen.
Because these surfaces are installed while the site is still active, protection is a non-negotiable part of our professional residential building services. We utilize heavy duty floor protection like Ram Board and adhesive films on countertops to shield your investment from the tools and ladders of remaining trades. Maintaining these barriers until the new home final walkthrough ensures that your finishes remain pristine and free of scratches.
Final Paint and Punch List Preparation

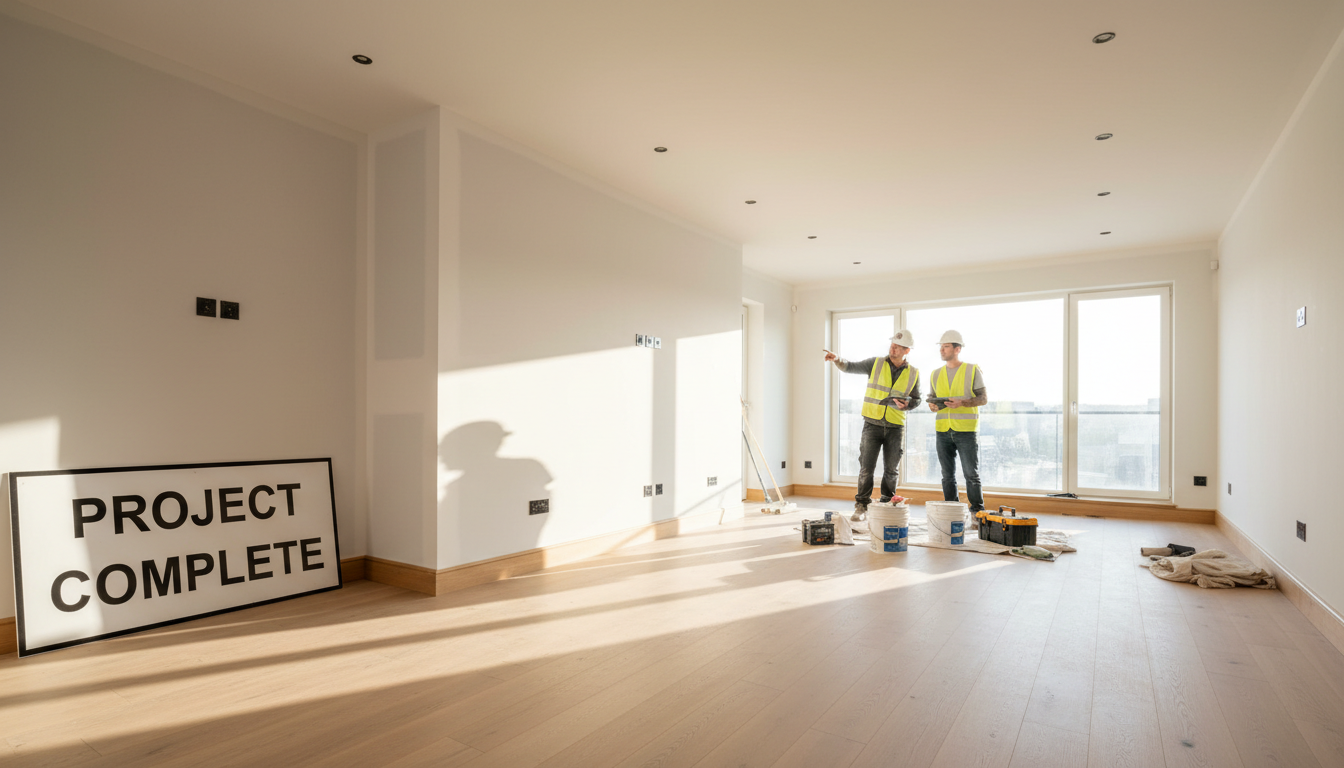
The final application of paint is strategically timed for the end of the project. While walls are primed and first coated early, we delay the final finish coat until after the flooring and heavy cabinetry are secured. This allows us to cover any scuffs that occur while trades handle large materials. Once the paint is cured, we begin the punch list process. A punch list is a comprehensive document detailing every minor aesthetic or functional correction needed before the project is considered complete.
During this phase of the interior finishing stage custom home building, we encourage you to walk through with a critical eye. Test every door to ensure it swings smoothly and latches without force. Inspect the alignment of cabinet doors to verify they are level and close softly. Look for paint 'holidays,' which are small spots where the coverage is thin. Identifying these items now as part of our professional residential building services ensures a smoother new home final walkthrough and a seamless transition to your new Jamesport residence.